Products in the administration
Products are the bread and butter of the average Cart store. Therefore, it is essential that you learn how to manage your store’s product inventory using the Cart administration side. Before adding products, you must make sure that you have all the necessary information about the product you are adding to the store. To get detailed information of your products to your customer, Cart requires this information to be gathered beforehand. The more information given to Cart about a specific product, the more informed the customer will be about that particular product when purchasing it from your store.
Products overview
The Product section, accessed under Catalog, will display all the products available in the store.
Every row of product will contain the following information:
- Image
- Product Name
- Model
- Price
- Quantity
- Status: Selecting “Enabled” lets the product be visible in the store’s store front. Selecting “Disabled” will remove the product from view.
Checking an individual box in the first column will select the product information within the same row. Once selected, you can choose to “Copy” or “Delete” the product. “Copy” will duplicate the product and it’s information categories. “Delete” will remove the product selection (including its information) completely.
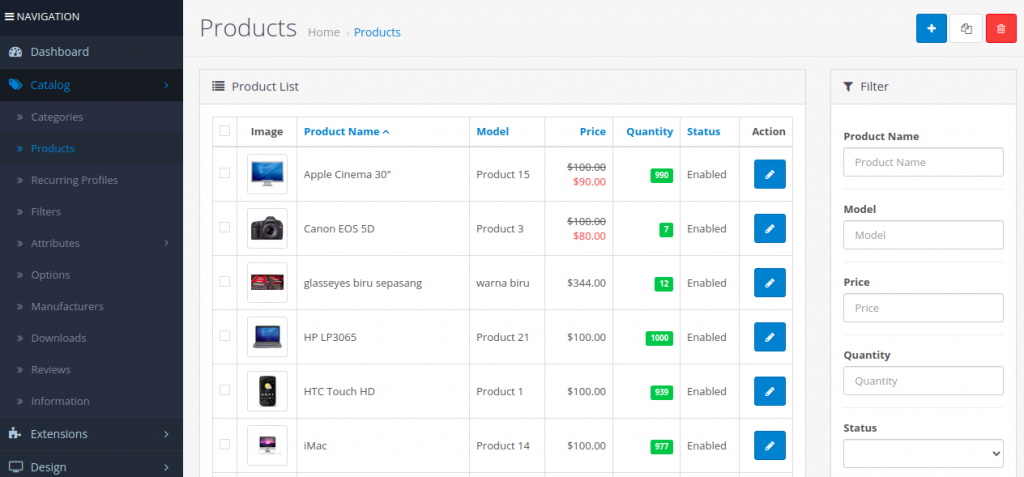
If you would like to look up a product in the product list, you can use “Filter” as a shortcut to search for it. For more information on the Filter tool, visit Filter. Pressing “Insert” in the top right corner will direct the administrator to a form to add new products.
Managing and adding products in the catalog
The complete list of store products can be found under Catalog > Products. If this is your first time in the Product section, you will notice the default products left over from the installation. These products can be used to experiment with and explore the Cart features before launching your store. You will eventually need to delete these products to make room for your store’s products.
To delete the default products:
- Check the box left of the “Image column” in the list. This should select all the products on the page.
- Click the “Delete” button on the top right side.
- Press “OK” when a window pops up asking “Delete/Install cannot be undone! Are you sure you want to do this?”.
There should now be a blank list to add individual products to. The “Insert” button directs the administrator to a page requiring product information under the following tabs:
- General
- Data
- Links
- Attribute
- Option
- Discount
- Special
- Image
- Reward Points
- Design
Before products are added to the administration, product categories must already be established by the administrator. See Categories before continuing with this section. With the product categories created, products are now ready to be added to the catalog. Cart currently only allows products to be added one at a time, not in mass quantity. Extensions can be purchased to add large amounts of product at once. See Product import for more information.
Saving the product
At this point in the guide, you will have completed all the steps and filled out all the appropriate information for the product. To complete the process of adding this product, click “Save”. When you return to the Products page under Catalog, you will now see this product listed. You can choose to modify any of this information included above, at any time, by clicking “Edit” across from the product.


